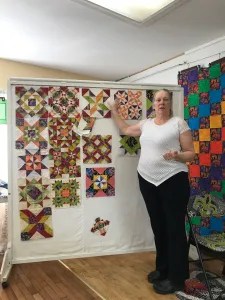
I created this week’s Block of the Week, Granny’s Choice, in earth tones to coordinate with the bear shower curtain and the MONKEY????
Granny’s Choice
Granny’s Choice was a lot of fun to create and very easy regardless of what my video bloopers may say. LOL Link to the PDF is HERE. GrannysChoiceComplete
Below is my YouTube video in case you missed it.
In this video, I am adding the first leaf motif in the middle of each block. After this was completed, I felt the blocks needed an additional leaf so I simply added a second one to the outside of the first. I do think I still need to stitch in the ditch or something in the center four-square section. Not sure what I’ll do yet.
This video shows how I marked and am sewing subsequent quilting. Prior to what you see here, I stitched in the ditchISH around the outside of all the triangles. What this means is that I actually stitched about 1/4″ from the ditch.
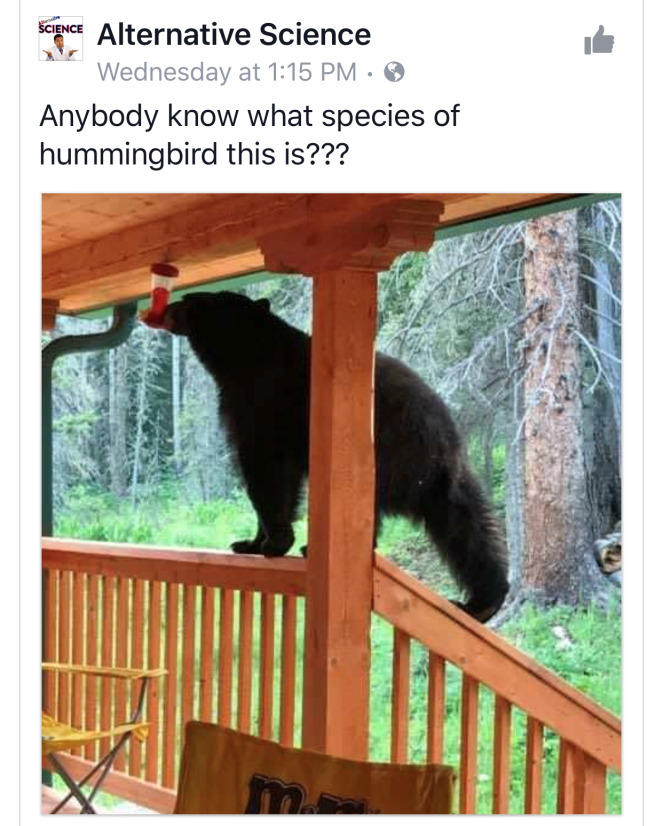
And now….just for fun!!! I sure hope we do NOT have one of these visit our hummingbird feeders! We bring ours in at night because of the raccoons and bears. Never thought there would be a bear at one in what appears to be the middle of the day!!!
This is the EQ7 drawing of the table topper we will be creating. Click here for PDF
Table topper drawing from EQ7
Cut your fabric according to the instructions above. (Not sure how? Send me a comment and I’ll help!)
You will be making 16 blocks. Each of the blocks will have a finished size of 8” x 8”
Mark the squares which are to be half square triangles from corner to corner. Sew and cut.
I like to chain piece my units and then cut them apart. AFTER they are completely sewn and cut, square them to exactly 2.5”
This helps when aligning them later for exact sewing AND it also removes the pesky dog ears.
Cheap Seat Rotating Cutting Mat
When all my blocks are done, I always lay my whole quilt out and pin the blocks together so that I don’t make any mistakes when sewing. Unfortunately, that doesn’t always work.
So far so good.
Here is what each set of FOUR blocks should look like when sewn together.
One down and lookin’ GOOD.
Below is what I THOUGHT was my finished table top.
Honestly, I really like the pattern I created (this is a first for me and Electric Quilt!)
I mean I wasH.A.P.P.Y.
I was sooo happy that I was singing, “Ring of Fire” because, my quilt reminded me of a fiery ring……. And THEN, I spotted IT. Not just IT but THEM.
ERRORS!!! OMG…. Whatever should I do?
In the past, I would have seriously considered throwing the whole dang thing into the trash BUT, I liiiked this one. I really did. So, I bit the bullet and got out the dreaded ripper. It was SCARY. I mean, I wasn’t so sure I could remove an internal block, rotate it and sew it back in without it causing me massive GRIEF.
I know, I KNOW… you wanna see the messed-up version. Ok, here it is. Can you see IT… I mean THEM???? (It’s the one on the left if you’re on your desktop computer LOLOLOL)
And on the right is the fixed version. I hope it isn’t too weird of me to say this but dang-git, I’m proud of myself for fixing it. Those of you who know me, know of my reputation of making ‘sewings’. You know, UFOs that will never see the light of day BECAUSE they did not turn out as I had imagined them in my mind’s eye (or maybe I just got bored).
Well that’s about it. Have you ever had a mess-up like mine? Oh, shhhhh don’t tell anyone but I used to work in a quilt shop and we had a lady who made our quilt samples and did a fabulous job on EVERY quilt except one where she had a block upside-down in the middle of a king sized quilt.
I hope she never noticed because I bet she would be mortified.
Well, thanks for dropping by!! Happy Sewing and Quilting!
My block with embroidery test. Recall the embroidery file was one from Anita Goodesign…their weekly design set. I think they currently have a Christmas one available.
If you’d like to be alerted when our next sew along is scheduled, please sign up for our newsletter.
Also, please share my blog, Facebook page, Instagram page and/or YouTube Channel with your friends.
[podbean resource=”episode=gxwge-6ce7dd” type=”audio-rectangle” height=”100″ skin=”1″ btn-skin=”107″ share=”1″ fonts=”Helvetica” auto=”0″ download=”0″ rtl=”0″]
This podcast includes me admitting (YIKES) that I was wrong, talking about a local quilt shop FUN evening, discussing the Farmer’s Wife quilt AND reviewing a new-to-me notion.
As I mentioned, Rachel and I got 10 patterns from our LQS last night. The patterns that I discussed are from The Quilt Company. You can get the patterns there for $2.50 I believe. Oh, except the one created with the half square triangles…the that I said I might create an embroidery for the center square BECAUSE that one was designed by Robyn (the shop owner). If you want that one try contacting Robyn on her FaceBook page.
😳An addendum…. I went to my local quilt shop (LQS) to get next months block of the month (BOM) and I saw all these blocks already made and I have decided I kind a like the fabrics!!! Who-da thunk it!?!
Block of the MonthBlock of the MonthBlock of the Month
I LOVE the fabric used for this block – especially the blue with the little gold flecks. I love a bit of bling!!💕
The cutting for this block is pretty straightforward. If you go to my previous blog post, I have written out the cutting dimensions for you.
As mentioned in the notes for the video, if you’d like to use the same fabrics that I’ve used, you can purchase a fat quarter bundle from Christa Quilts here.
In this video, variations of the Road to Oklahoma four-block layout are shown. As mentioned in the video, the final four-block quilt measures 20″ x 20″ – a perfect size for a table topper or a wall-hanging.
Cutting directions for EACH of the 9″ x 9″ blocks:
Cut 4 squares 2 3/4″ x 2 3/4″ (green blue and white fabrics)
Cut 2 squares 2 1/8″ x 2 1/8″ (green and blue fabrics)
Tune in to Part 2 where we will cut and sew the block.
Next, on to Part 3 where we will plan the free motion quilting, plan the walking foot portion of the quilting AND actually quilt the block.
These colors just make my heart sing. I cannot WAIT to get started on this BOW! The patterns and videos will be eady…… I’ll meet you back here on Sunday!!
Today, however, I’m resting after eye surgery – YES, I’m THAT old. Don’t worry though, I’ll be up and at ’em in a day (says ME).
For now, I hope you are enjoying these BOW quilt alongs as much as I am. 🙂
See you soon to enjoy a cuppa together AND anewBOW.
~PattyAnne
PS. LMK if you have a favorite block you’d like me to work on!!
Two of my FAVORITE quilting tools:
I love using these pins to baste my quilts rather than the ‘stinky’ spray baste. Click on the image for more details.
Also, I ALWYS wear my Machingers Gloves whether I’m walking foot quilting or free motion quilting. Again, click if you’d like more info.
This week we will be working on the Churn Dash block. I will provide the cutting directions via a pdf file so that you can Cut, Sew andQuiltalong with me!